Introduction
If you remember, we created a Discord Bot using nextcord which gives you Dad jokes whenever you ask for one. If you didn't read that, then please give it a read..
If you followed that article and created your own bot, then in this article, we will see how we can host the whole bot on Heroku. Heroku is a hosting service which lets us host our websites/servers for free. Even if you have not created a bot, you can still follow this article to host any python code that you have.
We will divide this process in 3 simple parts.
- Adding a PROC file.
- Pushing our code on Github
- Connecting Heroku with our Github Repo.
Adding a Procfile
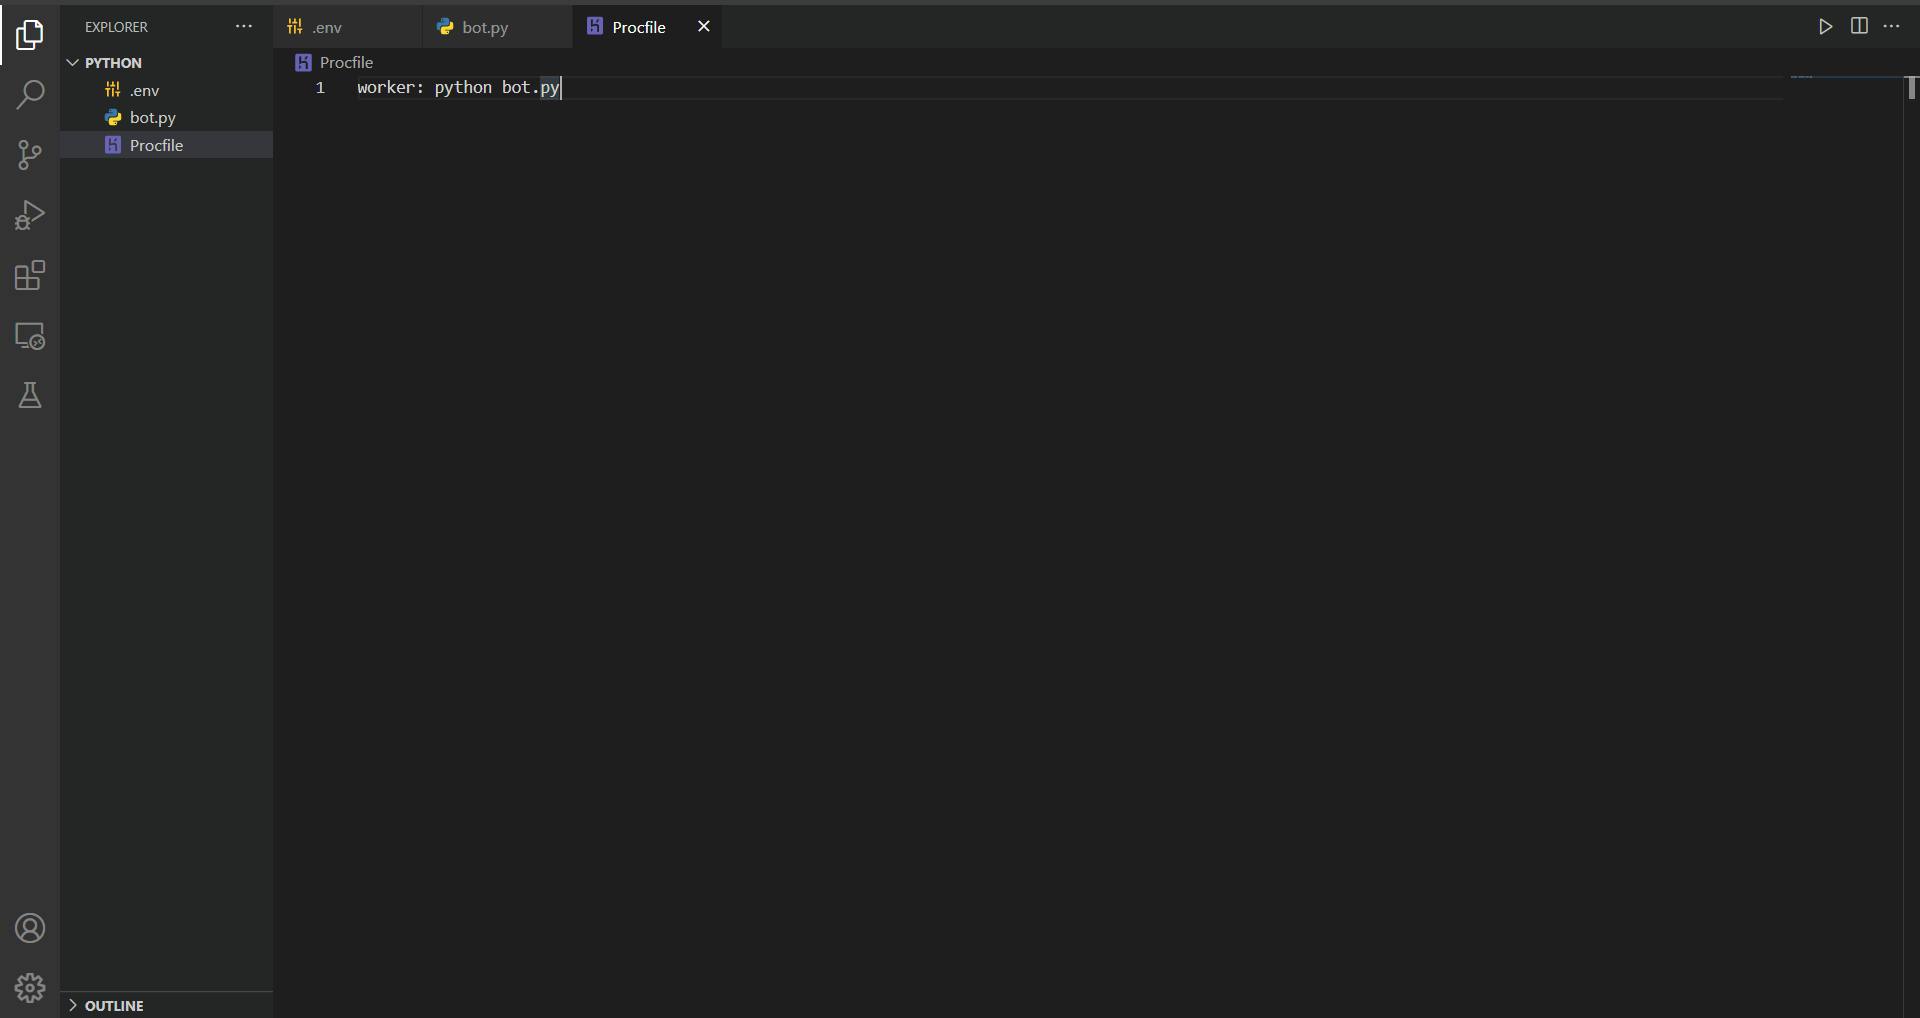
Go in the folder where you have saved your code. Create a new file and name it Procfile. In the proc file, add these following lines.
worker: python bot.py
This is how your VSCode should look like once you are done with the above step.
 That's it. Procfile is the file that tells Heroku to search for bot.py. Now let's push our code to Github.
Pushing Code on Github
If you have git, then do these steps. If not, then install Git from here and set it up on your PC. After you are done with this, follow these steps.
Go to Github, create a new repository. After creating, you will see this kind of screen. Press on the copy icon and copy the url.

After copying the url. Go in the folder where you have saved your code. Open the terminal in this location. Now enter these following commands one by one.
git init -b main
git add . && git commit -m "initial commit"
git remote add origin  <Your copied URL>
git push origin main
That's it. Your code has been pushed to github. Now only one step remains. Connecting Heroku to your Github repo.
Connecting Heroku with our Github Repo.
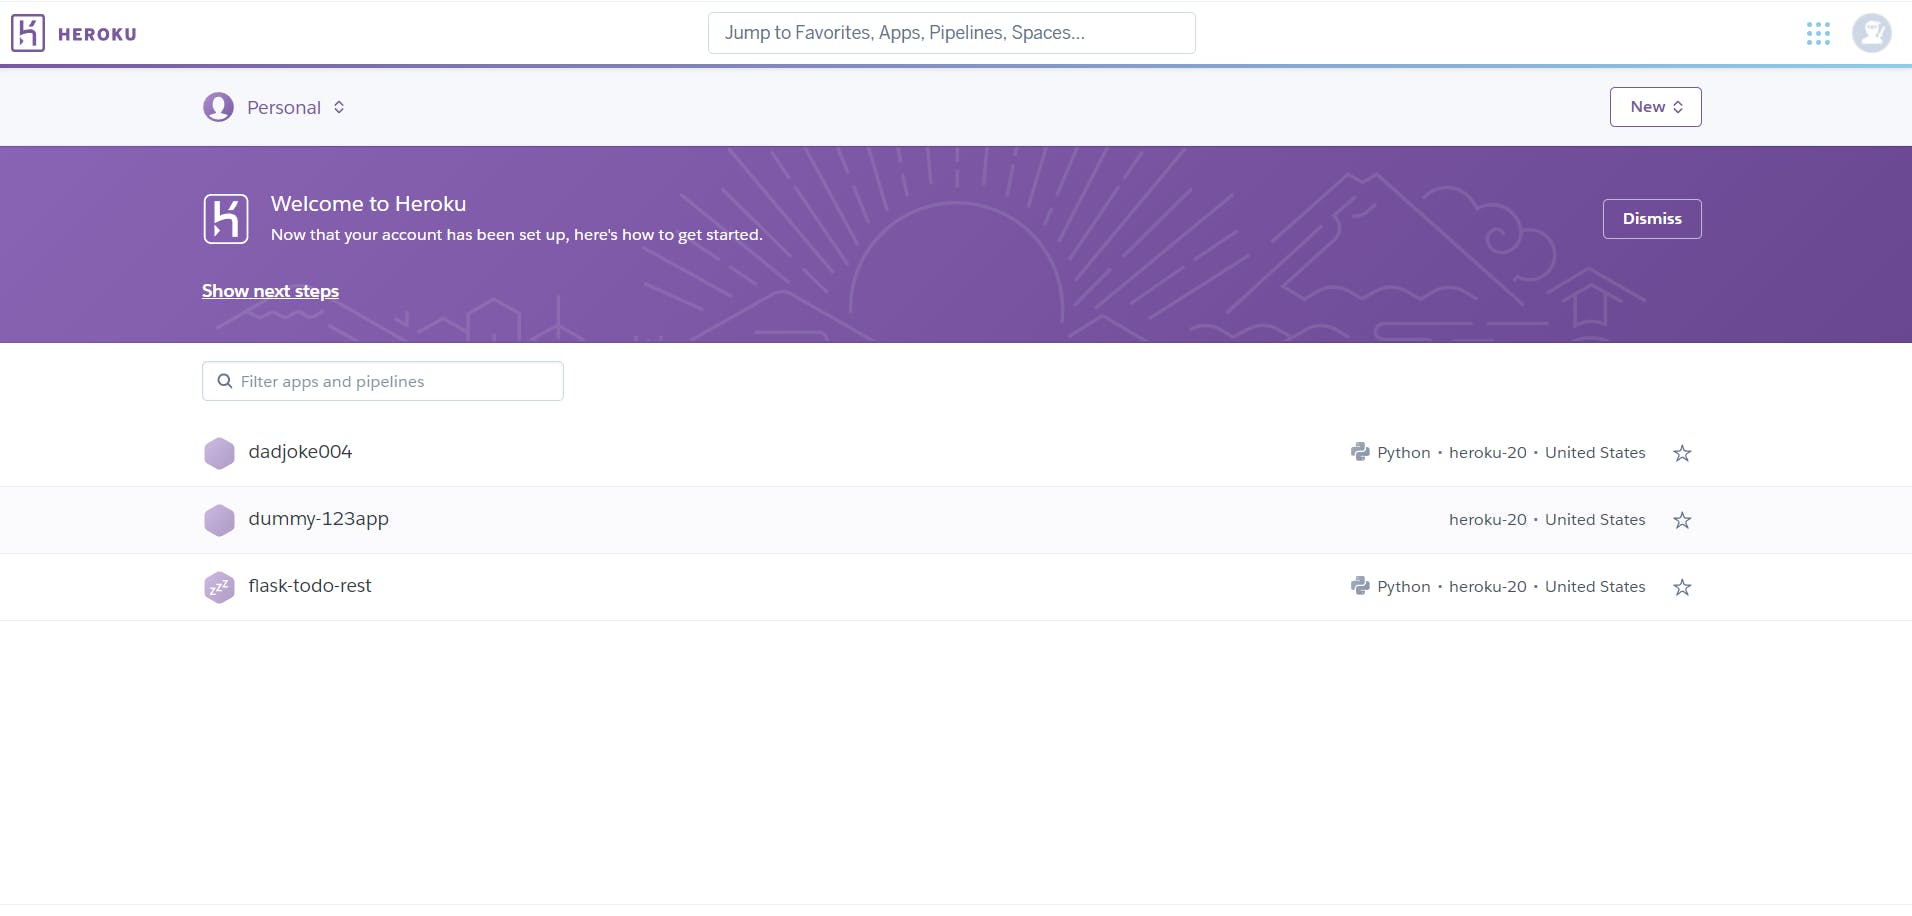
- Go to Heroku. If you don't have an account, Sign Up. After this, you will be taken to your dashboard. On the top left, tap on the Heroku icon. You will be taken to a page that will look like this.

- Tap on the New Button then press on Create a new app. You will be taken to a new page.
- Now, enter your app name and press on create app.
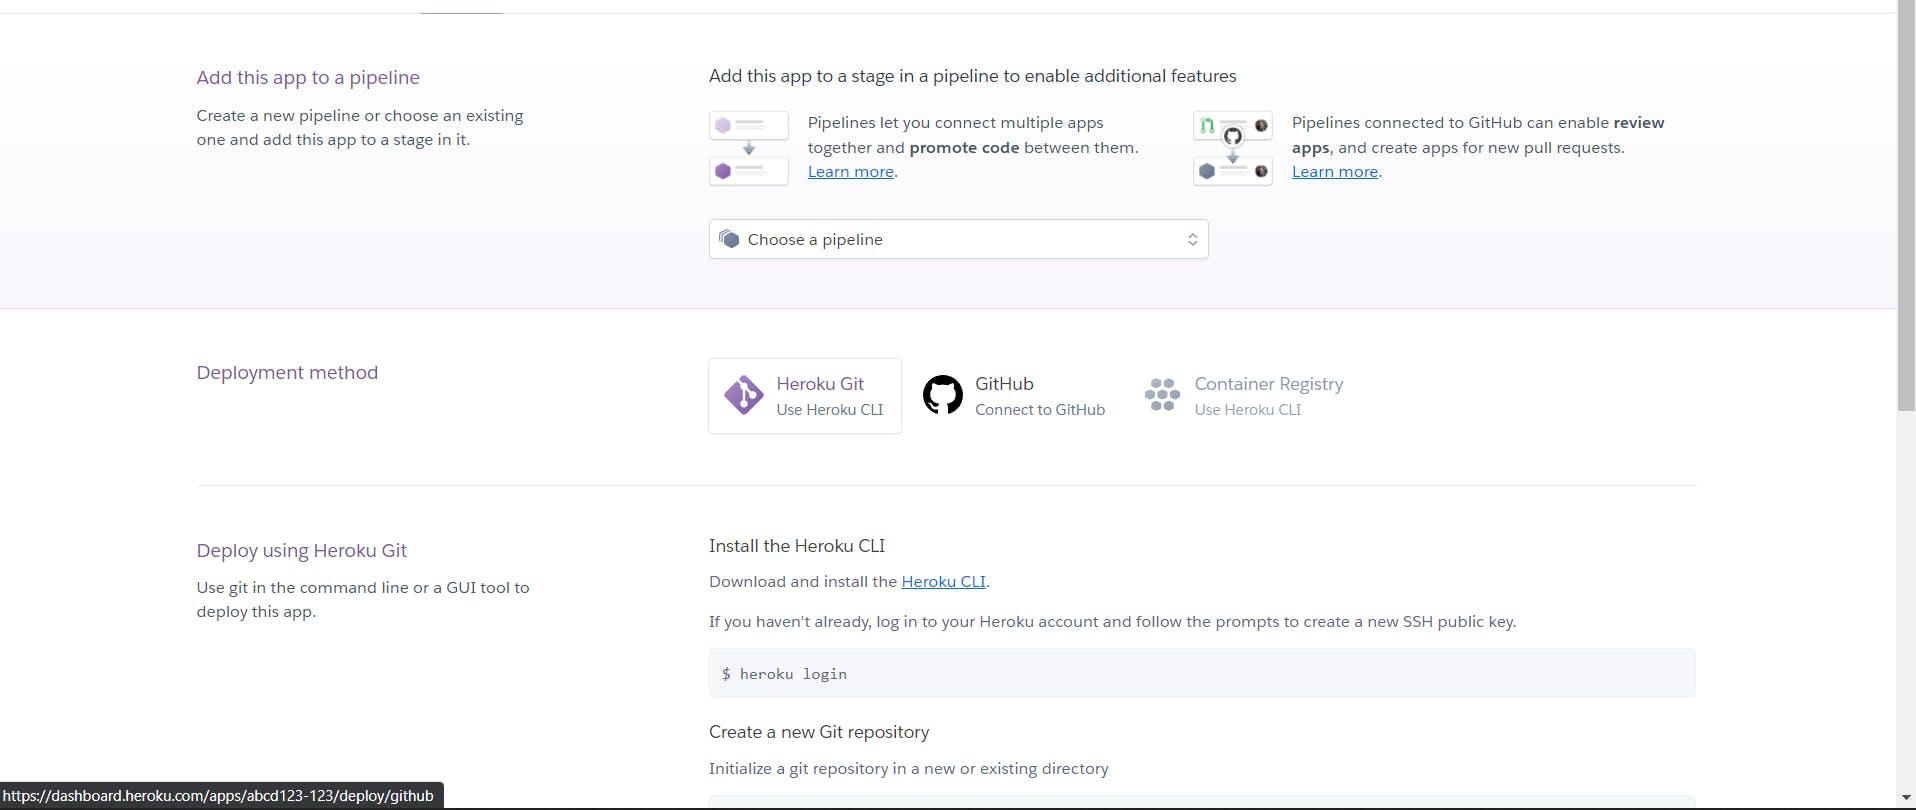
- Now, on the third page, tap on the Connect to Github button.

- After doing so, Heroku will ask you to enter the name of the Github repo. Enter the name of the newly created repo in the textfield and tap on Search. After that tap on Deploy.

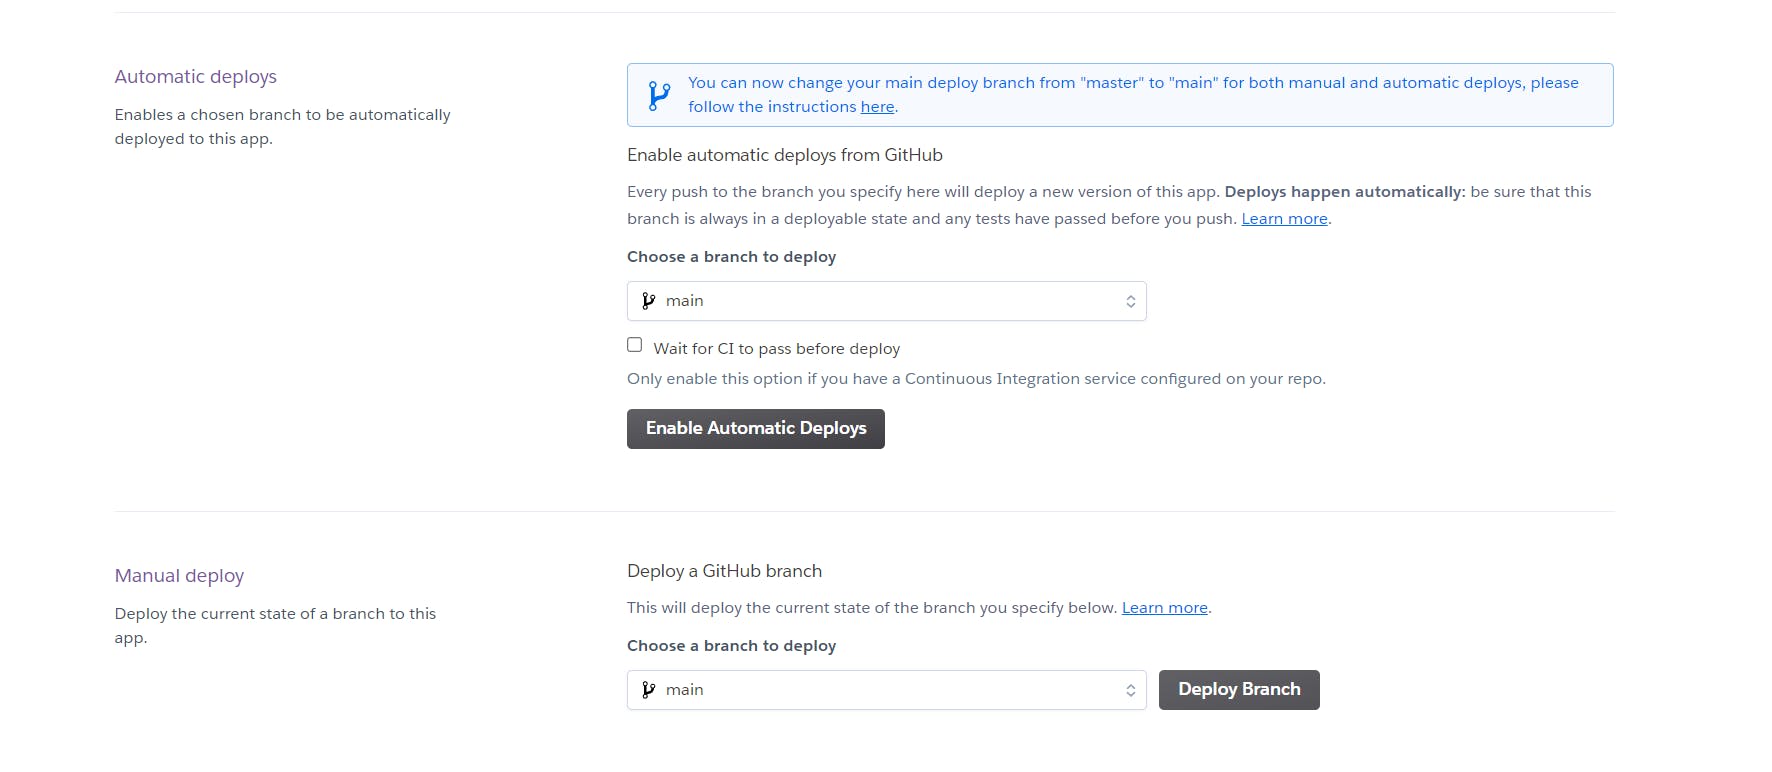
- Then, it will show you a screen like the one shown above. Now, press on deploy branch. Wait for the deployement and that's it. In the end you will get a url of your hosted site. It doesn't matter to us in this case because it is just a bot. But if you are hosting a frontend or a backend server then this url get you that.
Conclusion
Congratulations! You have successfully hosted a discord bot on Heroku. You can host any code on Heroku in the same manner. All you need to change is the Procfile according to it.
This concludes our Building a Discord bot with nextcord series. If you think I should write about more small projects like this, then do let me know in the comments below.
