Introduction
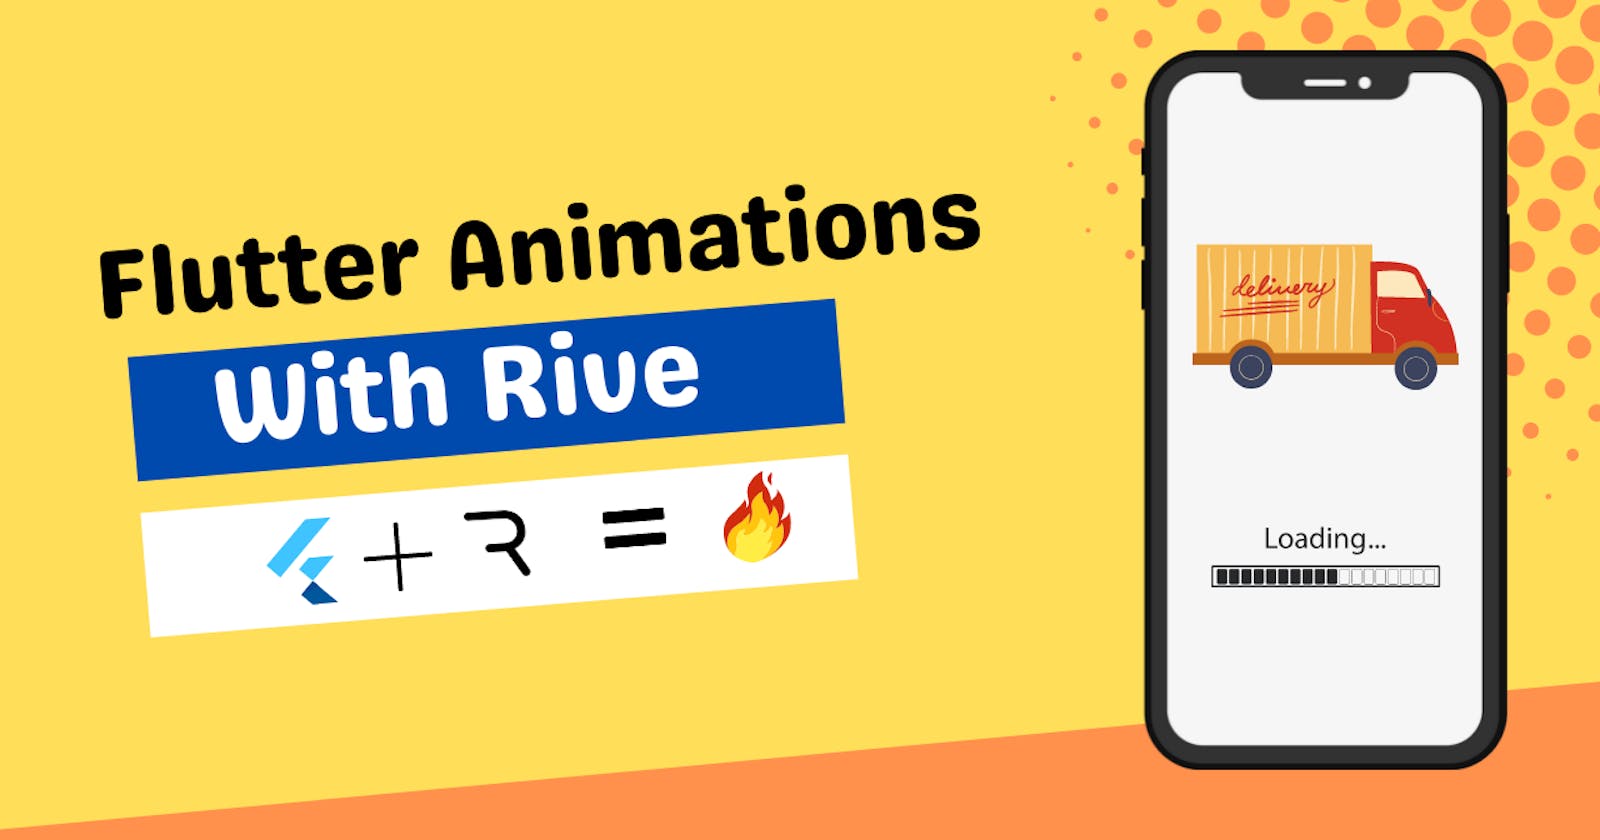
Animations are an integral part of a beautiful mobile app. It makes the user interface beautiful and makes the users explore your app more. It keeps them hooked to your app. Today, we will see how you can add some amazing animations to your Flutter app using Rive.
Just like LottieFiles, Rive is also a third-party website. The advantage of Rive over Lottiefiles is that a lot of content on Rive is free to use and you can even edit the pre-built animations in the Rive editor. Rive editor is a completely different tool and it is vast in itself.
Our focus today is on how to integrate the pre-built open-source animations in your Flutter app. So, let's get started.
Project Setup
First of all, add the rive dependency in your pubspec.YAML file.
dependencies:
  flutter:
    sdk: flutter
  rive: ^0.7.22
Next, import the rive package in the file where you plan to code the logic. That's it. The project configuration is done. Let's move on to the coding part.
Coding Logic(Animation 1)
Our first animation will be a static one. We will just load the animation on the screen which will play infinitely. There are two ways to add an animation to your Flutter app.
- Using the URL and .network() function
- Using the asset and .asset() function
I will use the URL method. All you need to do is create a scaffold and in the body of that scaffold, add the following widget.
RiveAnimation.network('https://cdn.rive.app/animations/vehicles.riv',),
Well, that's it. Run your app. You will see a truck moving infinitely.
Coding Logic(Animation 2)
The above animation is great but it would be more amazing if we could control the animation, won't it? Let's work on that part.
- First of all, we will create a RiveAnimationController to control our animation.
- Next, we will create a toggle function that switches from one animation to another
- We will also create a getter function that fetches us the value of the boolean which tells if the animation is playing or paused.
This is what the code will look like for the above 3 points.
  // Controller for playback
  late RiveAnimationController _controller;

  // Toggles between play and pause animation states
  void _togglePlay() {
  setState((){
    _controller.isActive = !_controller.isActive)
  };
}

  /// Tracks if the animation is playing by whether controller is running
  bool get isPlaying => _controller.isActive;
Once you are done with this, follow the below steps.
- Create an initstate function. In that function, initialize your controller with simple animation. SimpleAnimation() is a function provided by the rive package.
- We will also extend our current stateful widget with State class. This enables us to use the SimpleAnimation() in the initstate.
Here is the code after following all the 5 steps mentioned above.
class _PlayPauseAnimationState extends State<PlayPauseAnimation> {
// Controller for playback
  late RiveAnimationController _controller;

  // Toggles between play and pause animation states
  void _togglePlay() {
  setState((){
    _controller.isActive = !_controller.isActive)
  };
}

// Tracks if the animation is playing by whether the controller is running
// Returs true if controller is active.
bool get isPlaying => _controller.isActive;

@override
void initState() {
    super.initState();

 // 'idle' is a state of animation of this truck animation.
 // It varies from animation to animation.
 //Check out the rive website for finding the
 //different states of a particular animation

    _controller = SimpleAnimation('idle');
 }

// Flutter code.

}
We have successfully implemented the logical part of controlling our animation. Let's build a floating action button that pauses and plays the animation. Here is the code foe the same. If you don't know, the floating action button is an inbuilt attribute of the scaffold widget.
floatingActionButton: FloatingActionButton(
 onPressed: _togglePlay, // toggles the animation when pressed
 tooltip: isPlaying ? 'Pause' : 'Play',
 child: Icon(
  isPlaying ? Icons.pause : Icons.play_arrow,
  ),
),
We just need to add a few things to our RiveAnimationWidget. We need to specify a controller and an initstate to it. This is what your widget will look like when you are done adding it.
RiveAnimation.network('https://cdn.rive.app/animations/vehicles.riv',
// _controller controls our animation
controllers: [_controller],

// Update the play state when the widget's initialized
 onInit: (_) => setState(() {}),
),
Now, hot restart your app. You will see a FAB on the bottom right side. The truck will be moving initially but when you press the FAB, it will stop moving. If you press the button again, the animation resumes.
If you were successful in recreating this then CONGRATULATIONS!. You have successfully integrated a Rive animation into your Flutter app. If you want to learn another way to add animations to your app, then have a look at this article.
Conclusion
With this, we conclude our tutorial on how to add amazing animations to your Flutter app with the help of RIve. You can now experiment with more animations or you can learn how to create animations of your own. There is a lot to explore, you decide what to do next.
You can appreciate and support my blogs via.

Also, let's connect on Twitter. Follow CSwithIyush for more amazing tutorials, tips/tricks on Flutter & DSA.

