

How to receive and send data in real-time with Flutter and Websockets.

Android App Developer & Product Engineer @Mosaic Wellness. 4x Hackathon Winner. SWE Intern @Bonito Designs, @Legato Health Tech. Open for Freelance gigs. Documenting my tech journey via Hashnode & ranting about my life on Twitter.
Introduction
Today, we will see how you can connect to a WebSocket through your Flutter app. Websockets are used widely in a lot of mobile apps to implement various features like messaging, notifications feed on social media, real-time stock price, and much more. Websockets are used whenever we need flowing data in real-time.
We will connect to a dummy WebSocket and then retrieve the data from that WebSocket. So without wasting any time, let's get started.
Project Setup
First of all, we will add and import the required package. We will use the web_socket_channel package today. It is a package provided by the dart team themselves.
Here is the code to add it to your pubspec file
dependencies:
  flutter:
    sdk: flutter
  cupertino_icons: ^1.0.2
  web_socket_channel:
Now, import it in main.dart or wherever you are coding the logic
import 'package:web_socket_channel/io.dart';
Let's move on to coding the main logic.
Coding the Logic
Let's break the whole process into 3 parts.
- Connecting and sending data to the Websocket
- Fetching Data from the Websocket.
- Closing the connection to the Websocket.
Step 1
First of all, we will need to establish a connection with a WebSocket. We will use a dummy echo server WebSocket which is hosted here wss://socketsbay.com/wss/v2/2/demo/. I found this dummy WebSocket on this website
Here is how you connect to a WebSocket. Add this code in your stateful widget where you declare variables and functions.
final channel = IOWebSocketChannel.connect('wss://socketsbay.com/wss/v2/2/demo/');
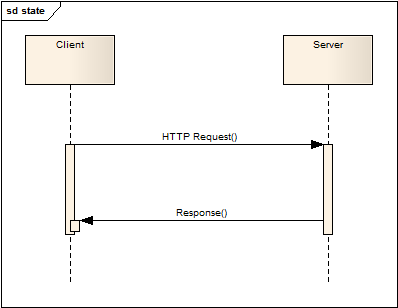
Once we are connected to the socket, we will need to add some data to the socket. A socket is like a pipeline with two ends. Data is added from one end, that end can be called a sink and it is received from the other end, it can be called a stream.
So to add data to a WebSocket, we will add this line of code.
channel.sink.add("Hello World");
Instead of adding static texts, let's quickly create a text field where you can type anything you want and after pressing the send button, the content of the text field is sent to the server.
Here is the code for the same.
Form(
 child: TextFormField(
 decoration: InputDecoration(labelText: "Send any message to the server"),
 controller: _controller,
 ),
),
You can create a TextEditingController named _controller like this,
TextEditingController _controller = TextEditingController();
Now let's quickly create a Floating Action Button. When you tap on it, the content of the text field is sent to the server. Here is the code for the same.
floatingActionButton: FloatingActionButton(
child: Icon(Icons.send),
onPressed: sendData,
),
Wrap the channel.sink.add() function in a function called sendData.
void sendData() async{
   channel.sink.add(_controller.text);
}
With this, we have successfully learned how to send data to WebSockets. Now we will see how you can fetch data from a WebSocket.
Step 2
To fetch data, we will use Streambuilder. If you don't know what Streams and Streambuilder are, go check out this article. Here is the code to fetch data from the WebSocket.
StreamBuilder(
stream: channel.stream,// channel.stream is an in-built method to fetch data
builder: (context, snapshot) {
 return Padding(
  padding: const EdgeInsets.all(20.0),
  child: Text(snapshot.hasData ? '${snapshot.data}' : 'No data yet'),
 );
},
)
All the data coming from the stream is being stored in a snapshot.
Step 3
In step 3, we will see how to close a connection to the WebSocket. It is very simple. We create a new override called dispose and add these lines of code in it. dispose of is a function that runs when you leave the current page.
@override
 void dispose() {
   channel.sink.close();
   super.dispose();
  }
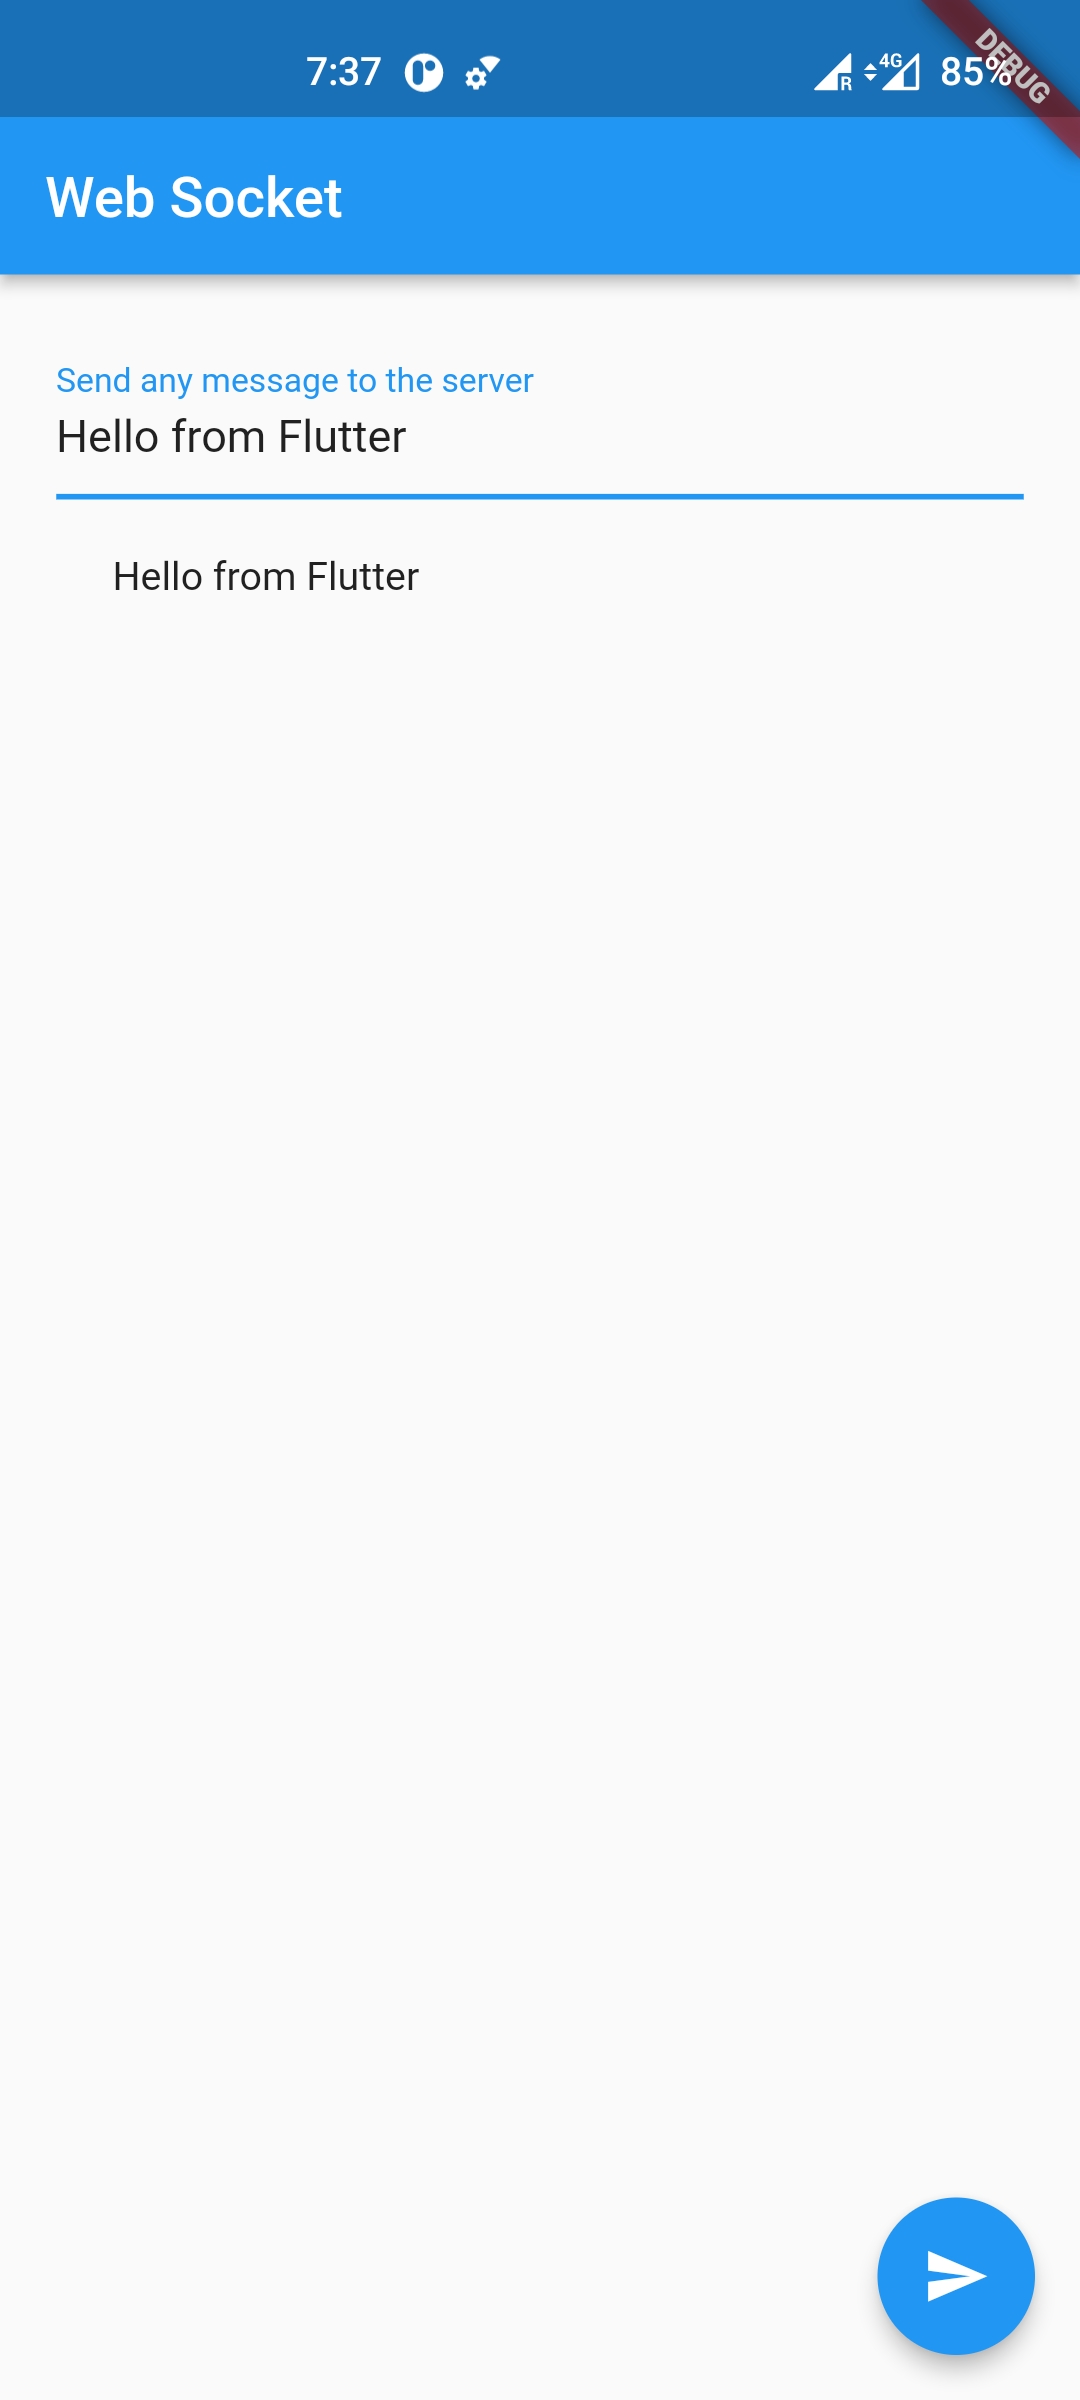
By closing the sink, we have successfully closed our connection. To test your app, type a message in the text field, press the floating action button and see if your message is rendered on the screen or not.
If not, then wait for a few seconds because the fetching from this particular WebSocket is quite slow. You can visit the website of this WebSocket and there you will be able to see data getting updated in real-time.
If you were successful, then CONGRATULATIONS! I encourage you to explore more about WebSockets by building some more complex features. Remember, the core concept of WebSockets remains the same. You have to first connect, find a way to send data, and find a way to receive data. That's it.
Conclusion
With this, we conclude our article on how to connect your Flutter app to WebSockets. As you saw, it was a very easy process. I hope you learned something new today.
You can appreciate and support my blogs via.

Also, let's connect on Twitter. Follow CSwithIyush for more amazing tutorials, tips/tricks on Flutter & DSA.


