

How to add Glassmorphism effect in Flutter

Android App Developer & Product Engineer @Mosaic Wellness. 4x Hackathon Winner. SWE Intern @Bonito Designs, @Legato Health Tech. Open for Freelance gigs. Documenting my tech journey via Hashnode & ranting about my life on Twitter.
Introduction
In today's article, we will learn how to add a cool glassmorphism effect to your Flutter apps. Glassmorphism is a component that looks like glass. You can display images or text on it. It creates a blur effect above the background and looks awesome.
So without wasting any time, let's get started.
Project Setup
We will use the glassmorphism package to implement glassmorphism. Add it to your dependency and also import it into your dart file.
dependencies:
  glassmorphism: ^3.0.0
import 'package:glassmorphism/glassmorphism.dart';
Coding the Logic
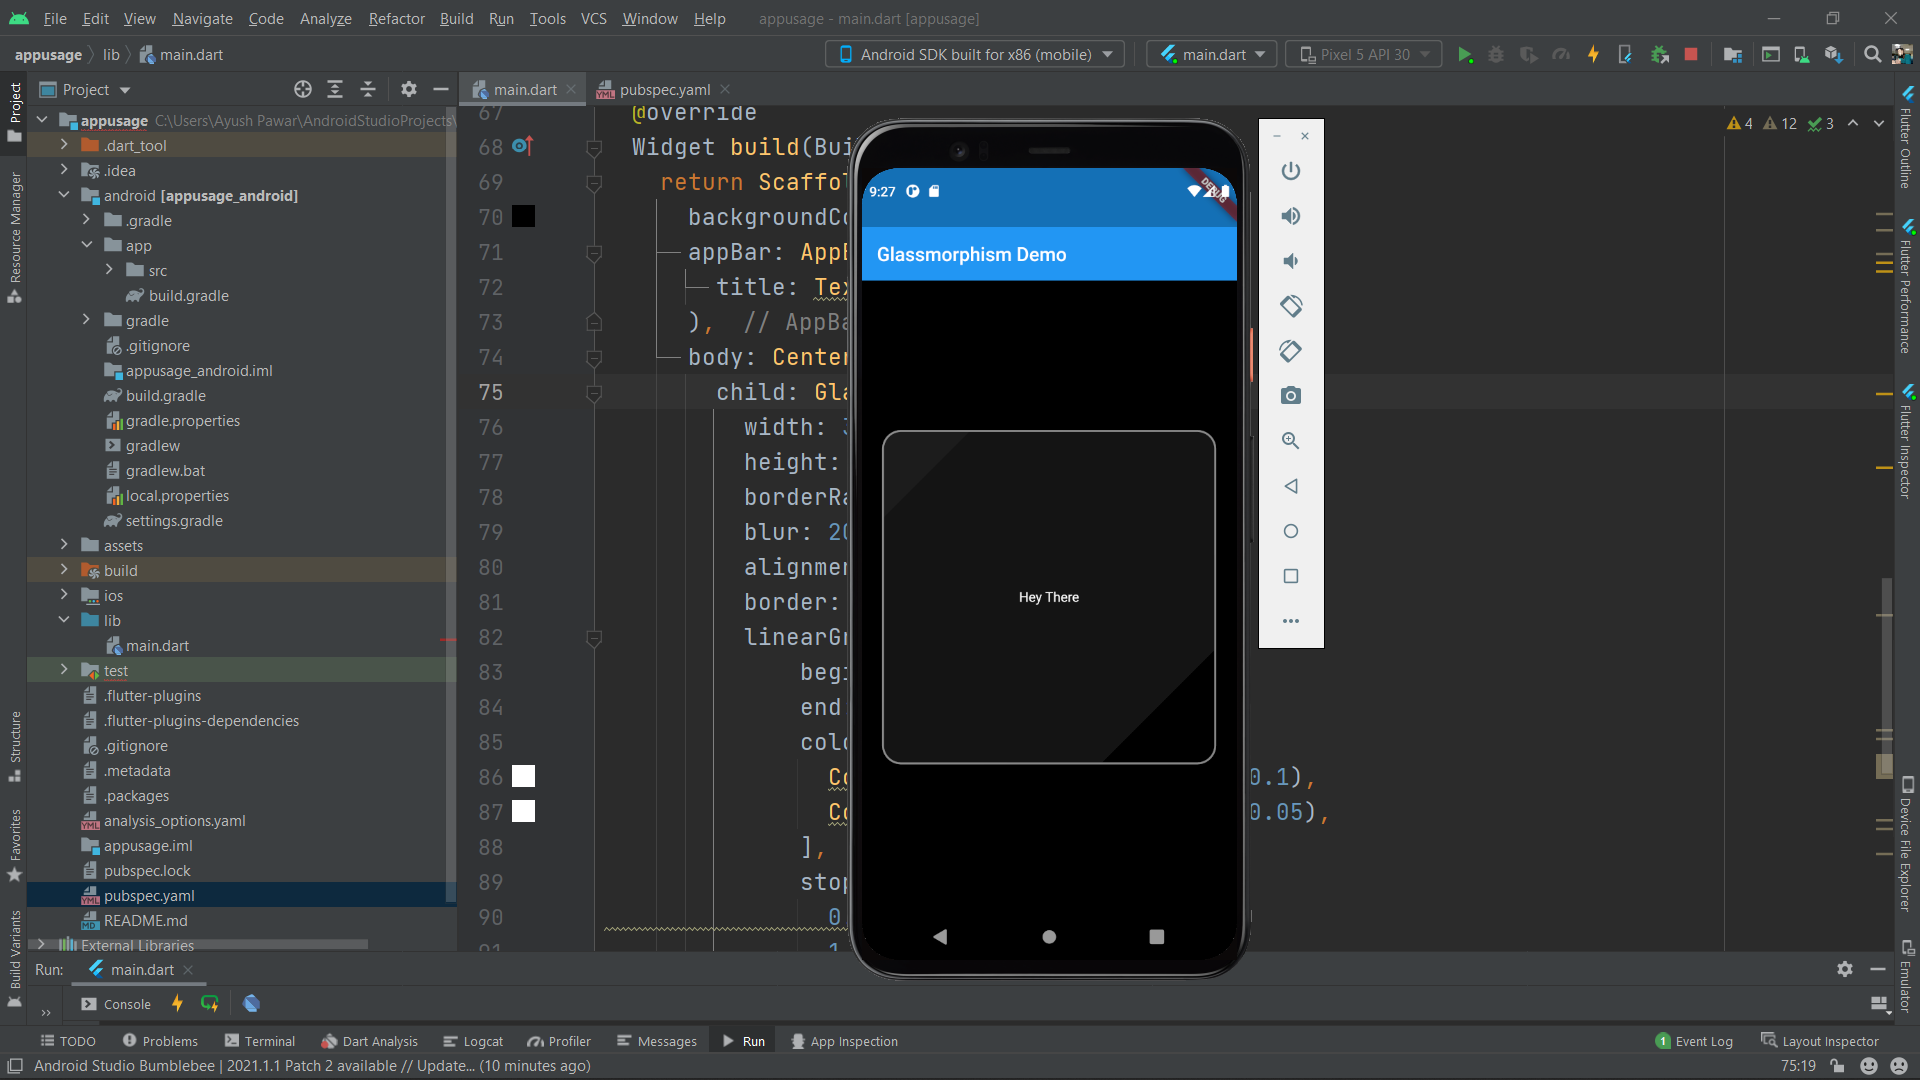
Well since this is a UI tutorial, there isn't much logic involved today. I will show you two widgets that are glassmorphized already. I will also attach the images of how they look on screen. Here is a container with a glassmorphism effect added to it
GlassmorphicContainer(
  width: 350,
  height: 350,
  borderRadius: 20,
  blur: 20,
  alignment: Alignment.bottomCenter,
  border: 2,
  linearGradient: LinearGradient(
      begin: Alignment.topLeft,
      end: Alignment.bottomRight,
      colors: [
        Color(0xFFffffff).withOpacity(0.1),
        Color(0xFFFFFFFF).withOpacity(0.05),
      ],
      stops: [
        0.1,
        1,
      ]),
  borderGradient: LinearGradient(
    begin: Alignment.topLeft,
    end: Alignment.bottomRight,
    colors: [
      Color(0xFFffffff).withOpacity(0.5),
      Color((0xFFFFFFFF)).withOpacity(0.5),
    ],
  ),
  child: Center(child:Text("Hey There")),
),
Here is the result.
Conclusion
Well, this was it. This is how you can add a glassmorphism effect to your Flutter app. This was a very simple tutorial.
You can appreciate and support my blogs via.
Also, let's connect on Twitter. Follow CSwithIyush for more amazing tutorials, tips/tricks on Flutter & DSA.


