

How to add a Liquid Swipe transition effect in Flutter?

Android App Developer & Product Engineer @Mosaic Wellness. 4x Hackathon Winner. SWE Intern @Bonito Designs, @Legato Health Tech. Open for Freelance gigs. Documenting my tech journey via Hashnode & ranting about my life on Twitter.
Introduction
In today's article, we will see how you can add a cool swipe animation effect when transitioning from one page to another. You can use this in your onboarding screens or auth screens or wherever you wish to. So without wasting any time, let's get started.
Project Setup
We will make use of the liquid swipe package. Let's add the package in our pubspec and also import in main.dart or wherever you are coding the logic. Here is the code to add it as a dependency in your pubspec.
dependencies:
  flutter:
    sdk: flutter

  # The following adds the Cupertino Icons font to your application.
  # Use the CupertinoIcons class for iOS style icons.
  cupertino_icons: ^1.0.2
  liquid_swipe:   // add this line
Import it in the dart file like this
import 'package:liquid_swipe/liquid_swipe.dart';
With this, we are done with the setup. Let's code the logic.
Coding the Logic
Adding this cool animation effect is quite simple actually. All you need is a LiquidSwipe widget and you need to provide it with a list of widgets/screens. Something like this
 body: LiquidSwipe(
  slideIconWidget: Icon(Icons.navigate_next_sharp)
  pages: [
  Container(
   height: 1000,
   width: 1000,
   color: Colors.red,),
  Container(
   height: 1000,
   width: 1000,
   color: Colors.blue,),
  Container(
    height: 1000,
    width: 1000,
    color: Colors.greenAccent,),
 ],
),
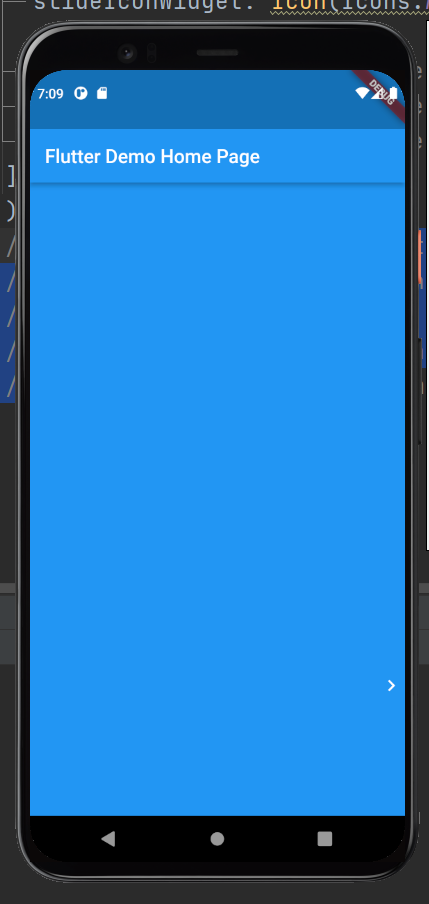
The slideIconWidget attribute is an icon appearing on the right side of your screen. If you hold and drag it, you will be taken to the next page. Here is how it looks.
There is another attribute called wave type. This attribute gives us options in selecting the type of transition we want to use.
Suppose I wanted to add a button and on tapping that I wanted to jump to a particular page with this liquid animation. How can I do that? with the help of a controller. The liquid swipe package has a LiquidSwipe Controller which gives us the flexibility to do multiple things with the animation.
Create one controller and add it as an attribute in your Liquid Swipe widget.
  LiquidController liquidController = LiquidController();

// some code //

LiquidSwipe(
controller: liquidController,
// some code
)
Now let's quickly create a FloatingActionButton. When you tap on it, you will be taken to a new screen.
floatingActionButton: FloatingActionButton(
backgroundColor: Colors.black,
onPressed: (){},
child: const Icon(Icons.skip_next,color: Colors.white,),
),
In the onPressed function, we will add this line of code to make things working
liquidController.animateToPage(page: 2); // 0 indexing
Now every time when you tap on the FAB, you will be taken to page 2. Instead of the dragging widget in the right, you can create two buttons, next and previous, and use the liquid controller to navigate between the pages.
Conclusion
So with this, we conclude our article on how to add a cool transition animation to your Flutter app. Play around with the package and build some cool onboarding screens. I hope that you learned something new today.
You can appreciate and support my blogs via.

Also, let's connect on Twitter. Follow CSwithIyush for more amazing tutorials, tips/tricks on Flutter & DSA.


